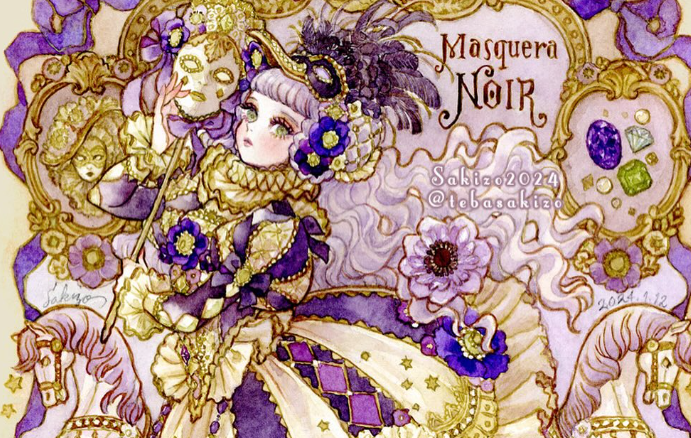
I am starting to work on Masquera Noir by Sakizo Illustrator.
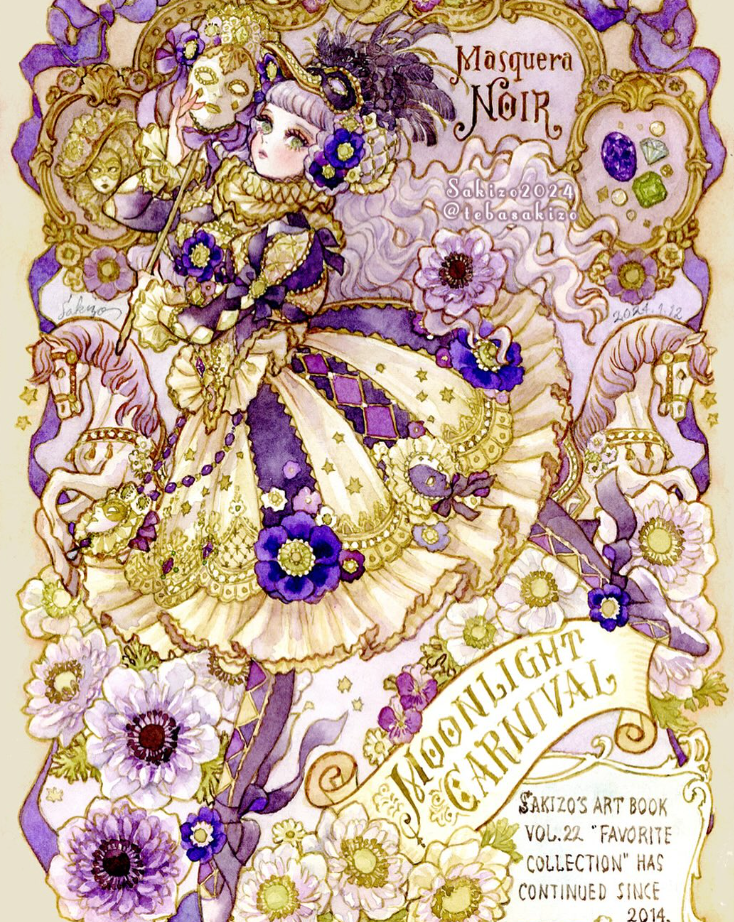
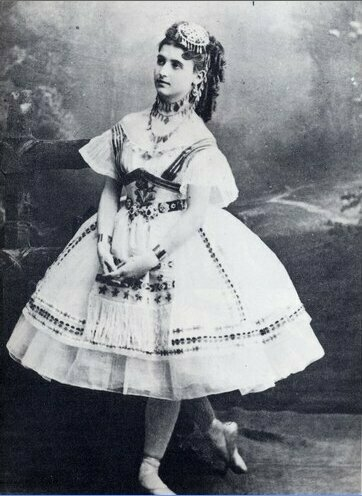
For a cosplay like this, support layers are incredibly important. This design really read as an 1860s-70s ballerina to me. For that reason, I will be turning this into a slightly historical costuming project.
One of the most important layers for the era I am going for is the corset. I will be making a gored corset with cording and a straight busk.
The Pattern
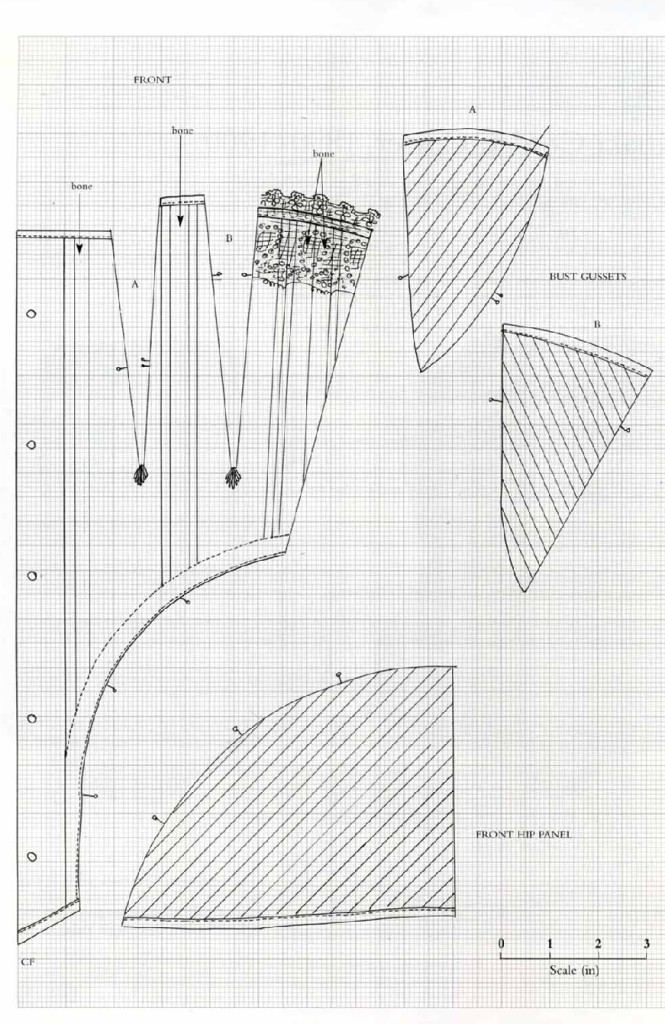
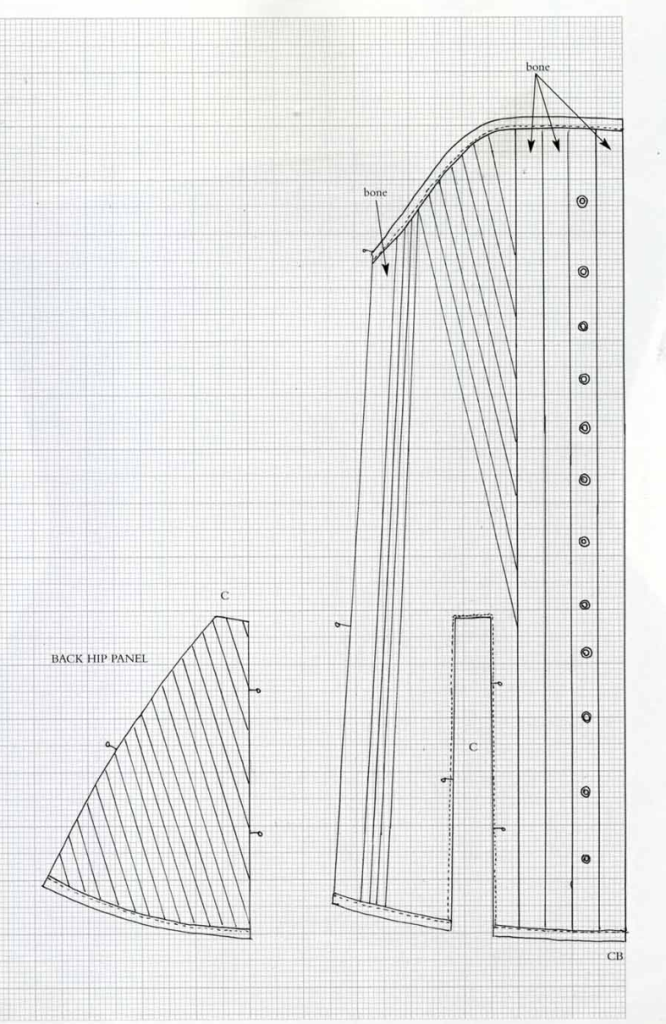
This is the diagram that I found for the pattern of the corset. The proportions of the pattern matched my measurements, so I stretched the pattern sideways to get the desired waist measurement of 26 inches. I did have to take the bust in a little bit through the gores since it was a couple of inches larger than my actual bust measurement.
If I was to make this corset again I would make it a little smaller width wise and I would make the back panel slightly shorter.
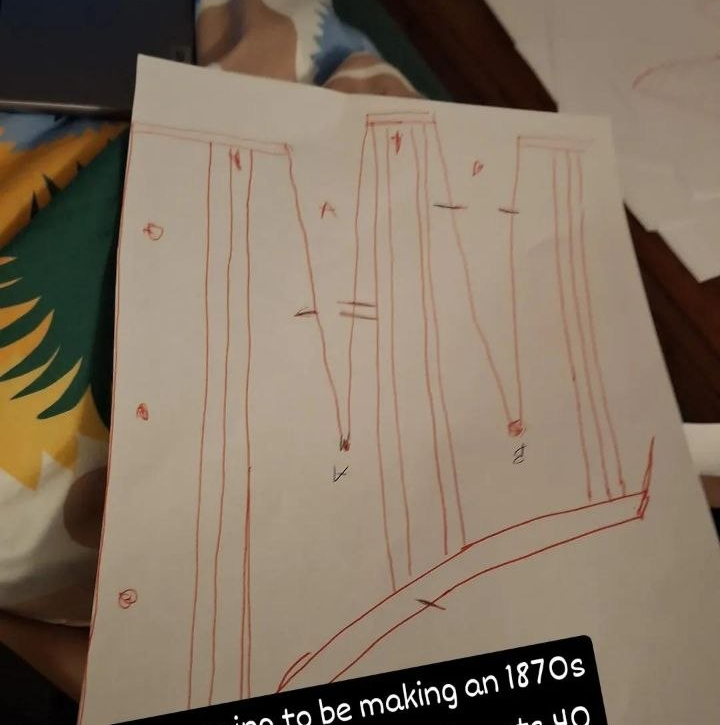
This is what the panels look like traced out onto paper, with all of the boning and cording channels marked.
I the marked out all of the panels onto a whit cotton canvas. This corset is pretty thin, as it only has two layers of fabric. A cotton fashion fabric and a cotton canvas lining
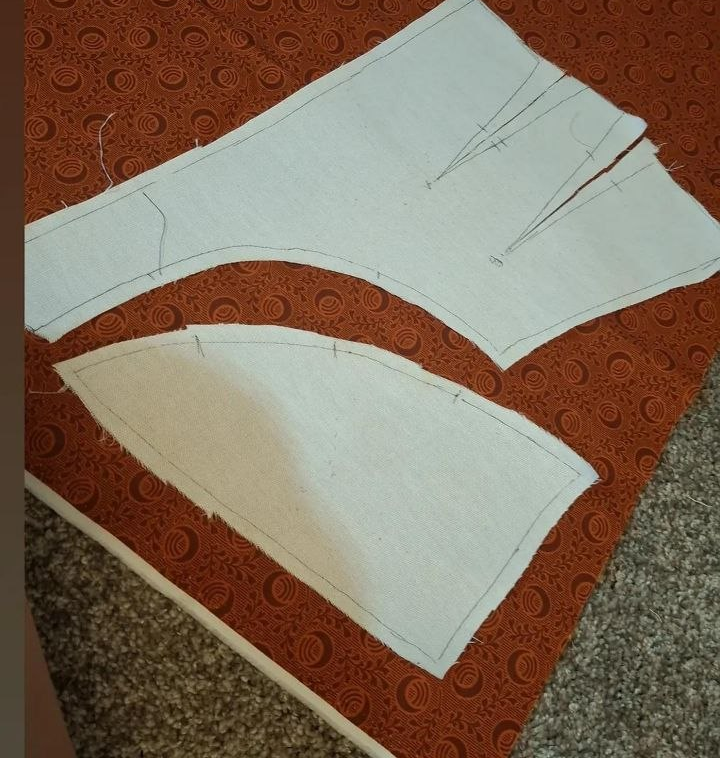
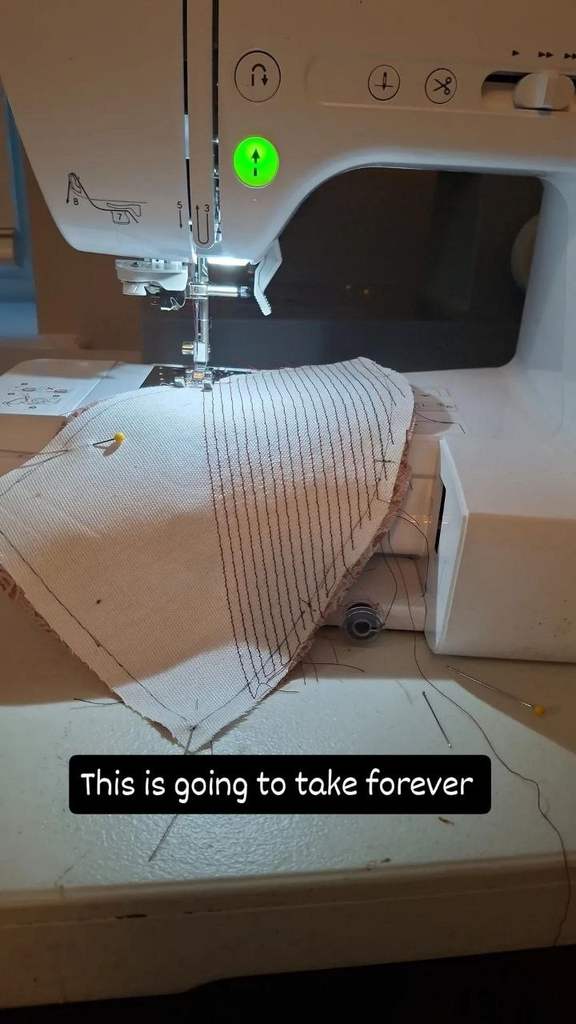
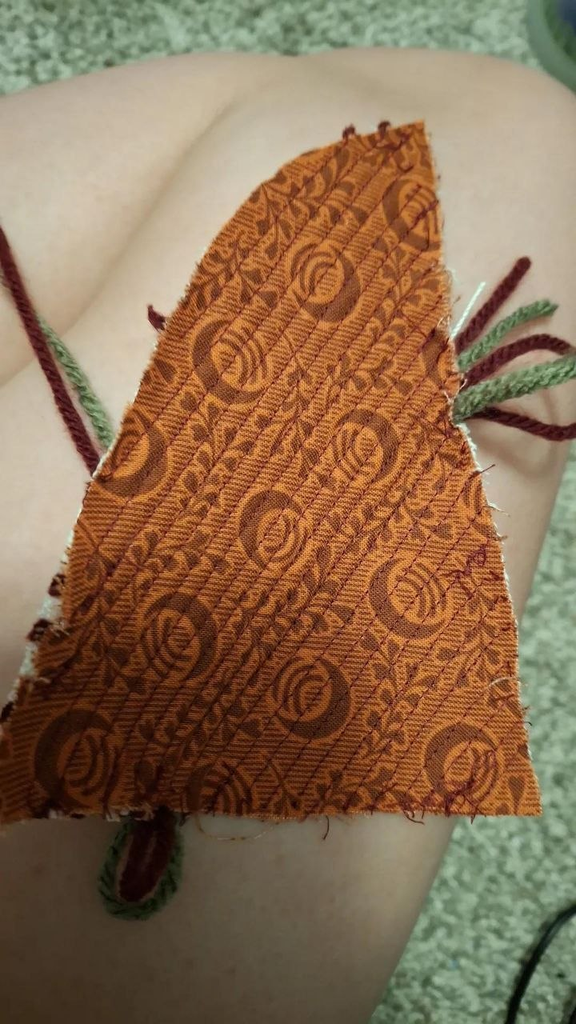
The first thing I wanted to get out of the way when it came to making this corset was all of the gores. They all had to be corded. That resulted in me sewing over a hundred straight lines to create channels, which I then threaded two strands of worsted weight yarn through. I then machine sewed a line of basting stiches around each panel to lock everything in place. I then trimmed all of the extra fabric and yarn. This process was arduous and it took 2 days to complete.
The Busk
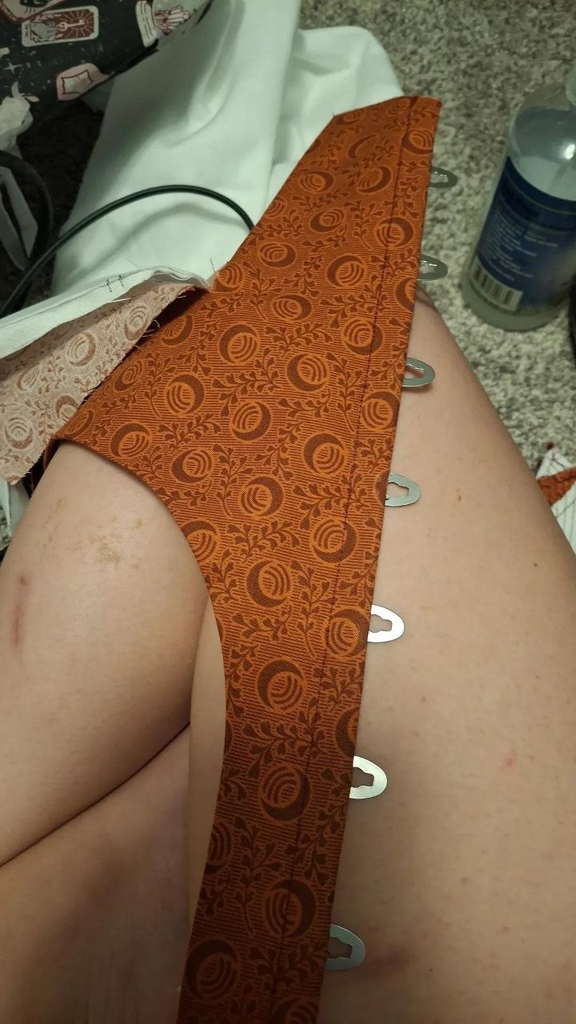
Now let’s move on to the front panels. The first step was to iron over the bottom curves seam allowance. We need this nice se we can later sew in the front gores. Next, I get to mark out where the hooks on the busk need to sit. I then sew each of the little straight seams and insert the hook side of the busk and top stitch it in pace with a zipper foot. I do the same process to the other front panel and the pin side of the busk.
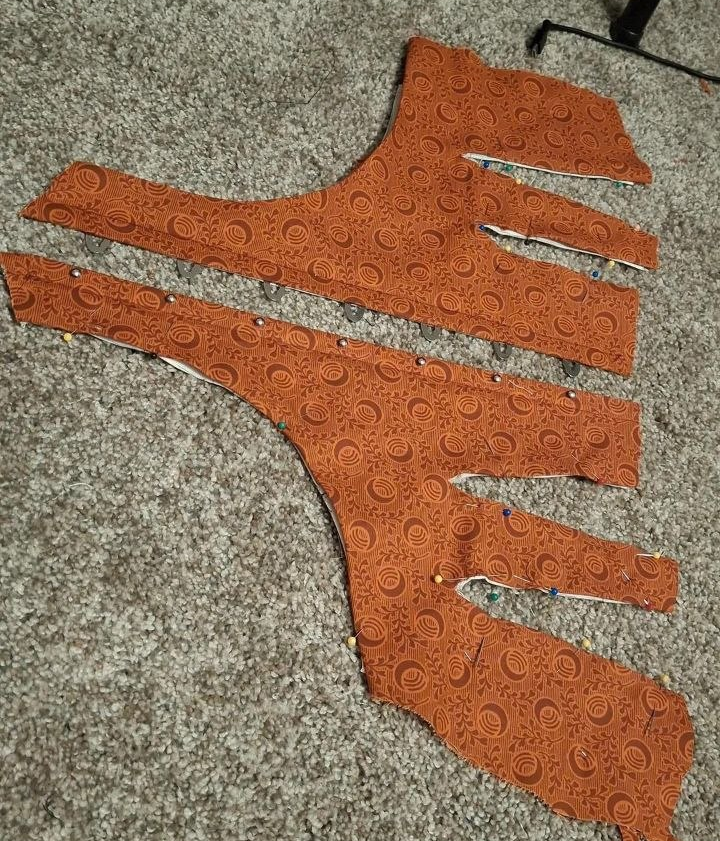
Then I folded in the rest of the seam allowances before inserting the gores.
The Gores and Boning
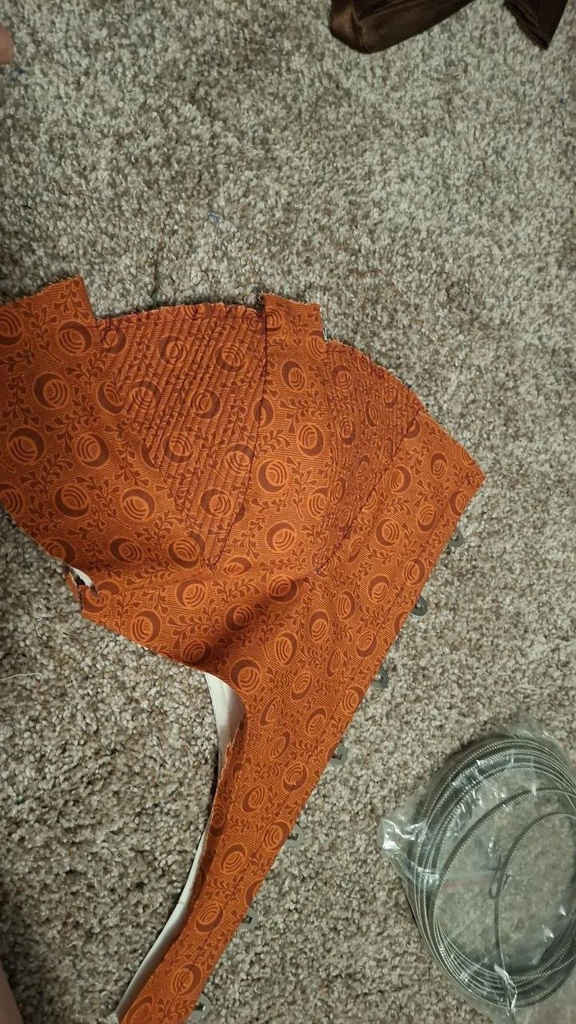
All of the gores had to be sewn in by hand on the inside and the outside of the garment. I topstitched around the gores to add a little extra security in the panels. After I sewed the gores, I topstitched the boning and cording channels.
I then repeated a similar process on the back panels. I did sew in the boning and cording channels before the gores were inset, which resulted in a lot simpler process.
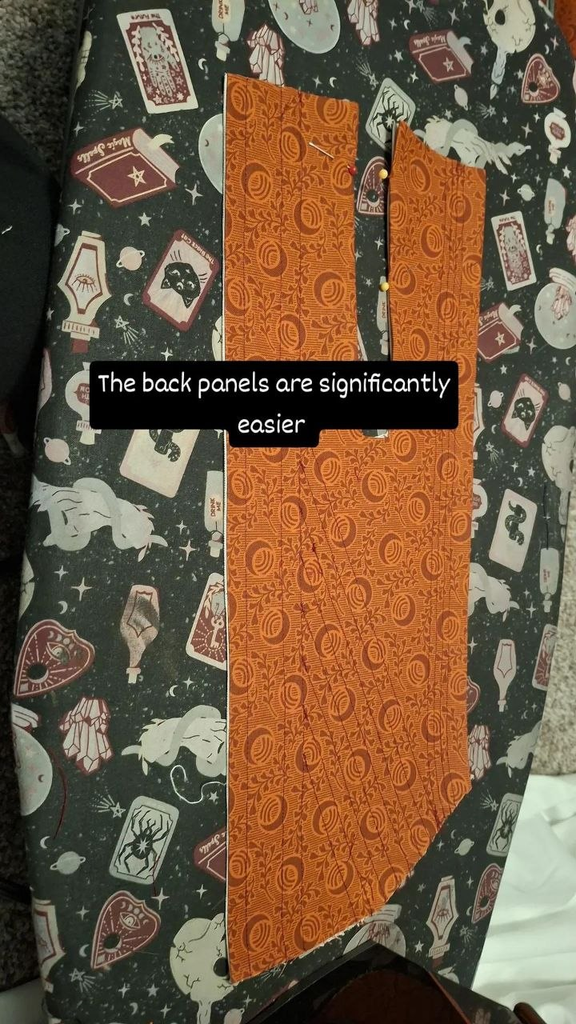
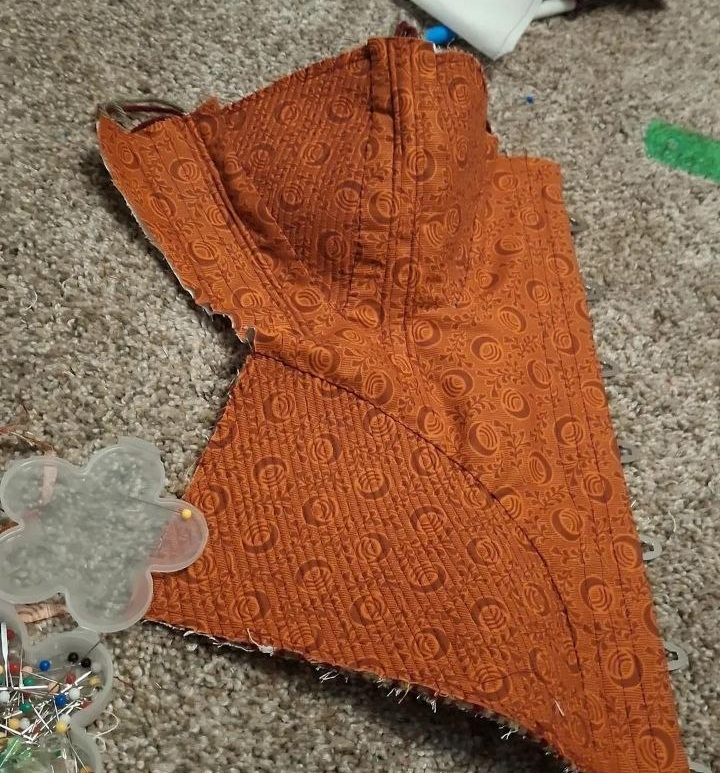
Then I inserted the cording and spiral steel boning into the front and back panels.
After this was completed I was able to sew the front panels to the back panels.
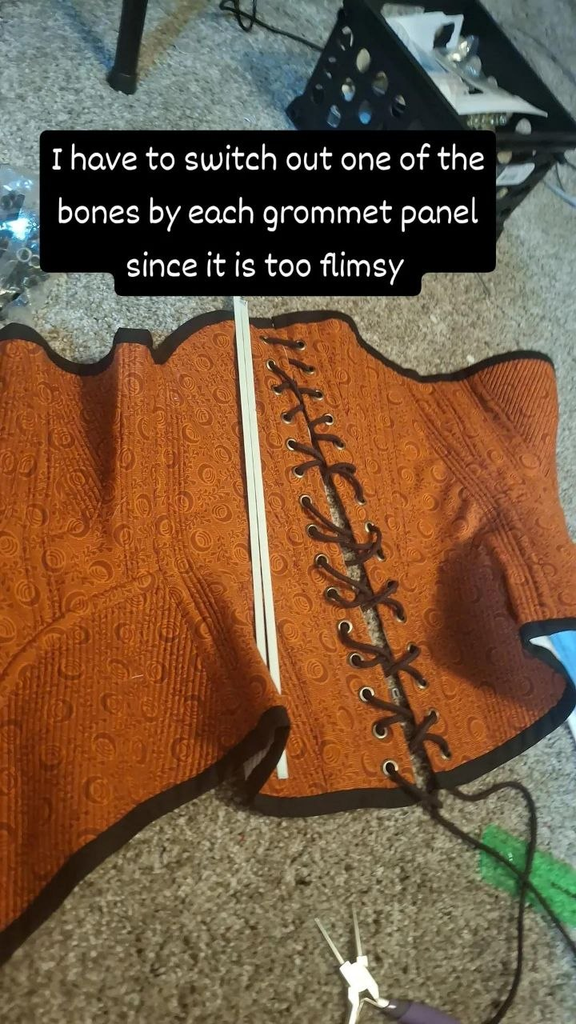
After the panels were put together I installed grommets down the back for lacing.
I then bound the top and bottom of the panels with black bias tape.
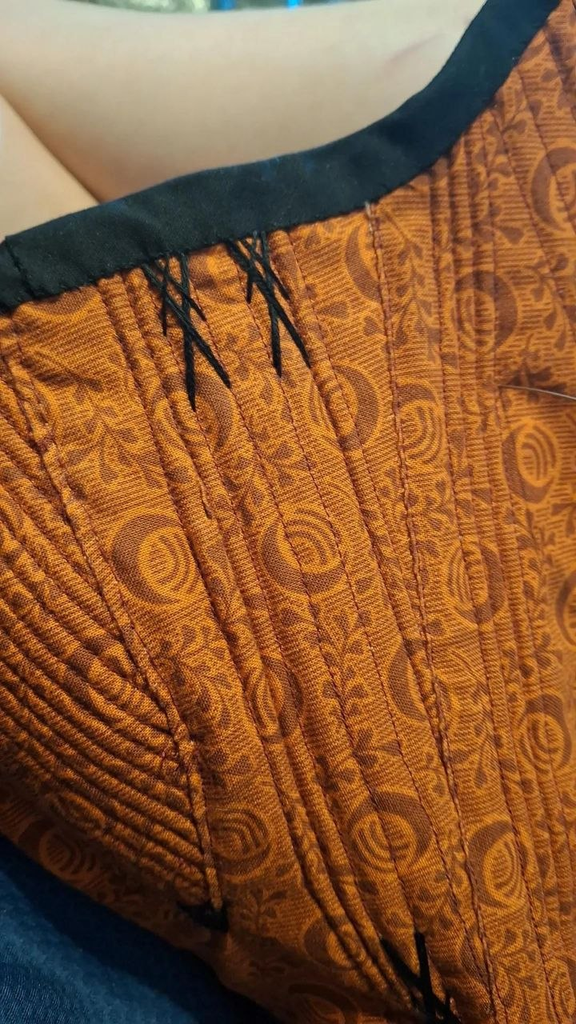
Then I add flossing to finish off the corset.
Leave a Reply