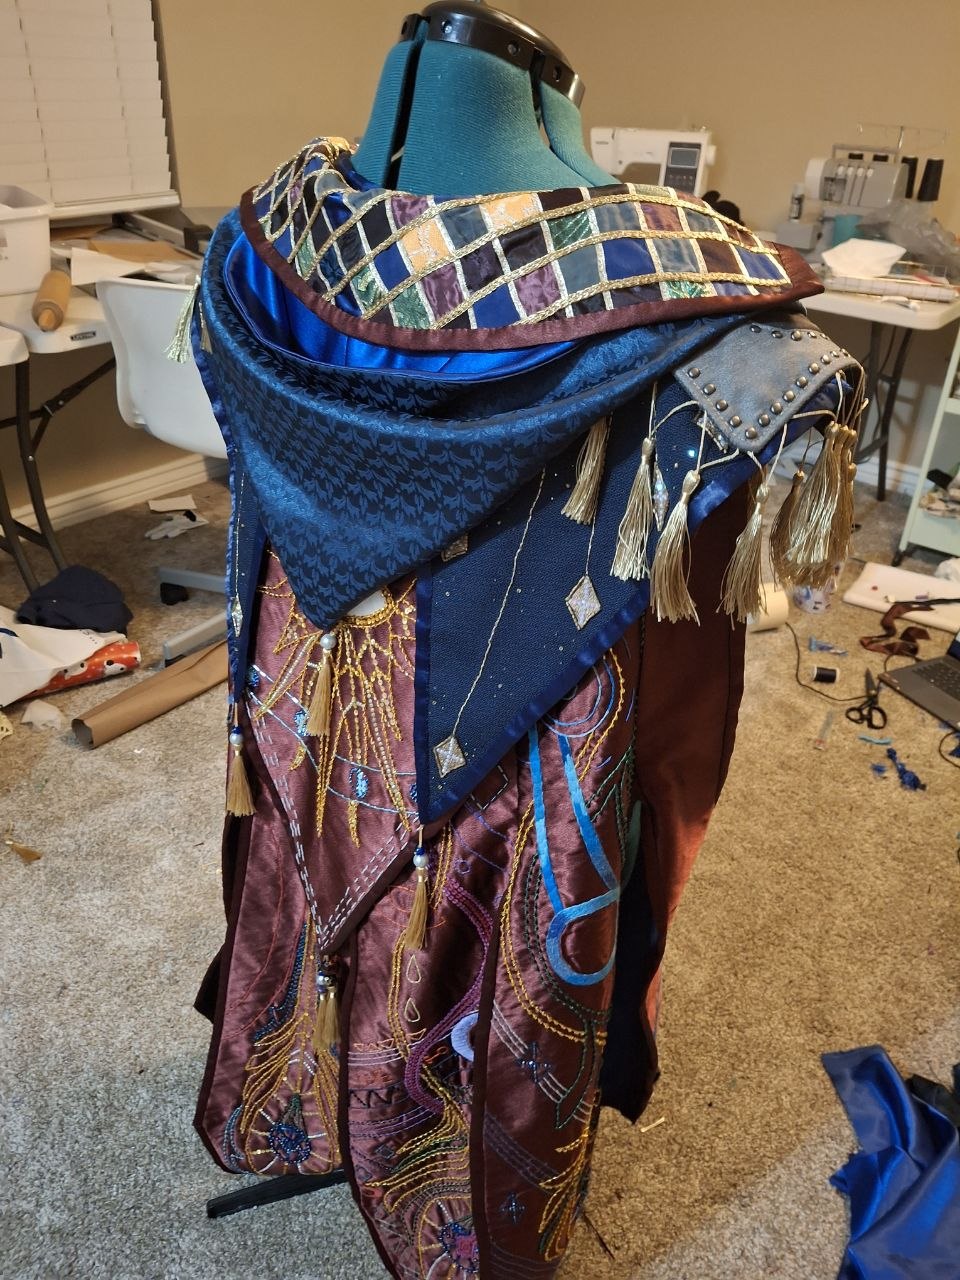
Any person who follows Critical Role has seen this design. Many people say that if you see this character in a contest, you know you are losing. Mollymauk Tealeaf has an iconic design, with a heavily embroidered red coat.
The design is a nightmare that few people decide to make. Today I will show how I made the coat from the new art book Armory of Heroes.
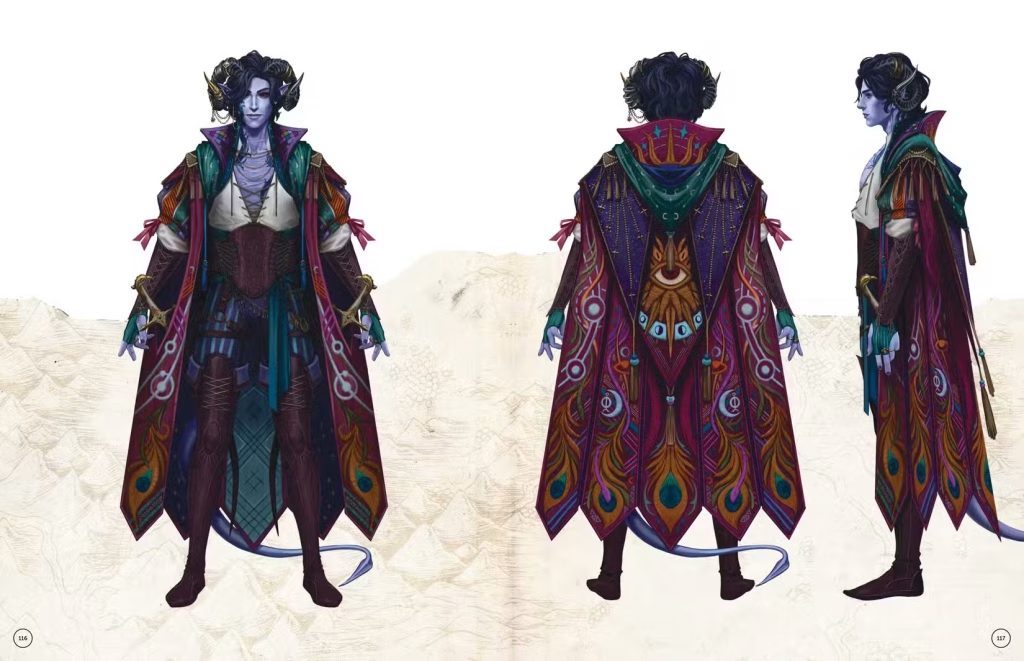
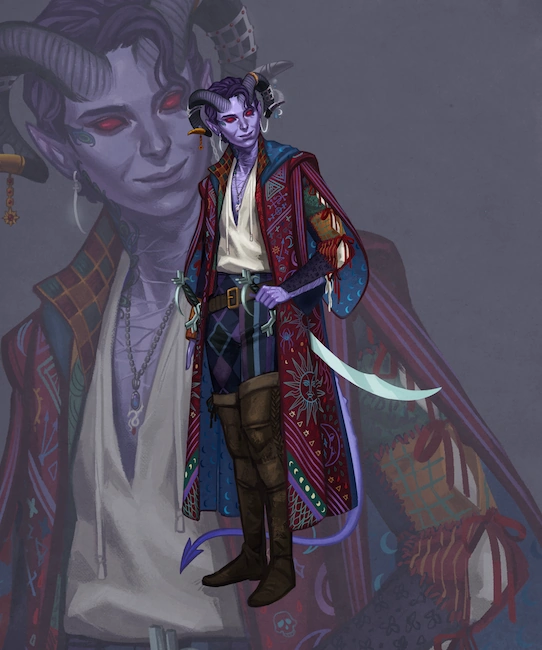
I have made two of these coats over the years; they take hundreds of hours and more patience than you think. This design takes a lot of specialized skills to make. These can include patterning, embroidery, beading, hand sewing, and many more. Here is the full cosplay.
The first steps to creating a well-fitting garment are making a pattern and a first mock-up. It is important to have a mock-up that fits well and looks how you want. The process of making the pattern in an inexpensive fabric and making alterations to it is crucial in creating a well-fitted garment.
Patterning
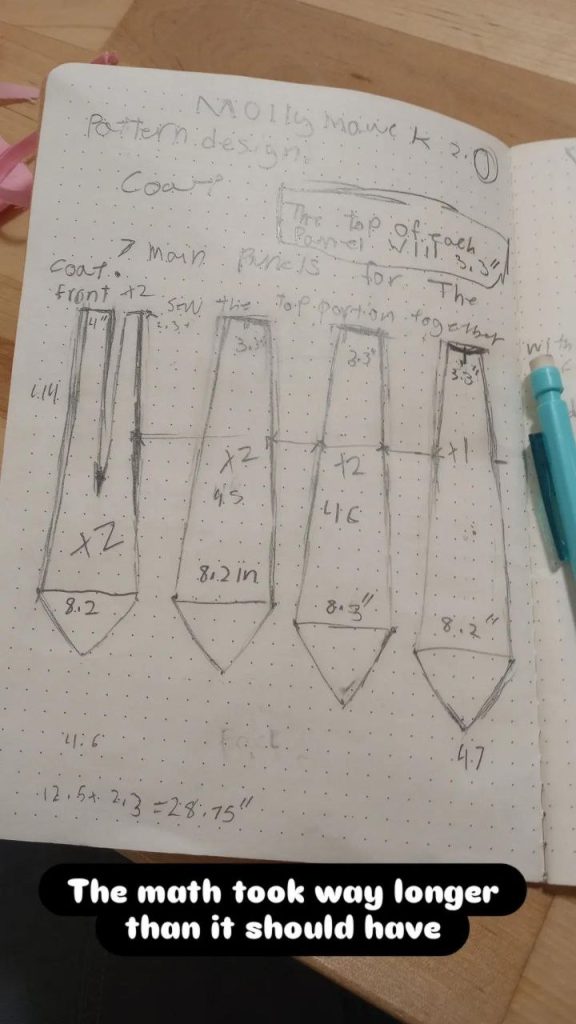
My first step in creating a pattern was taking my own measurements and drawing out what I thought the pattern pieces would look like. I then did the math with my measurements to get a scaled-down copy of the pattern. I then drew out the pattern on some paper and constructed the first version of the coat. After I figured out how it fit, I made alterations to the pattern until I was pleased with the final fit.
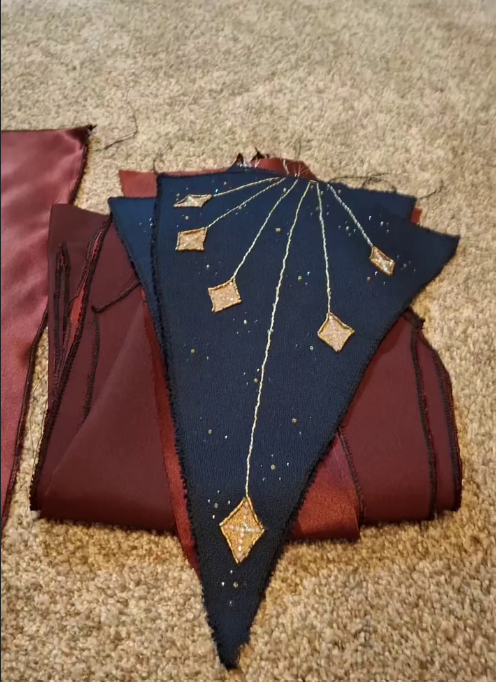
The next step is almost the most daunting. Cutting into your main fabric. I cut out my main fabric, serged around the edges to prevent fraying, and then ironed on some interfacing to help with the weight of the fabric for embroidery. These steps help prevent warping of the fabric and fabric loss around the edges.
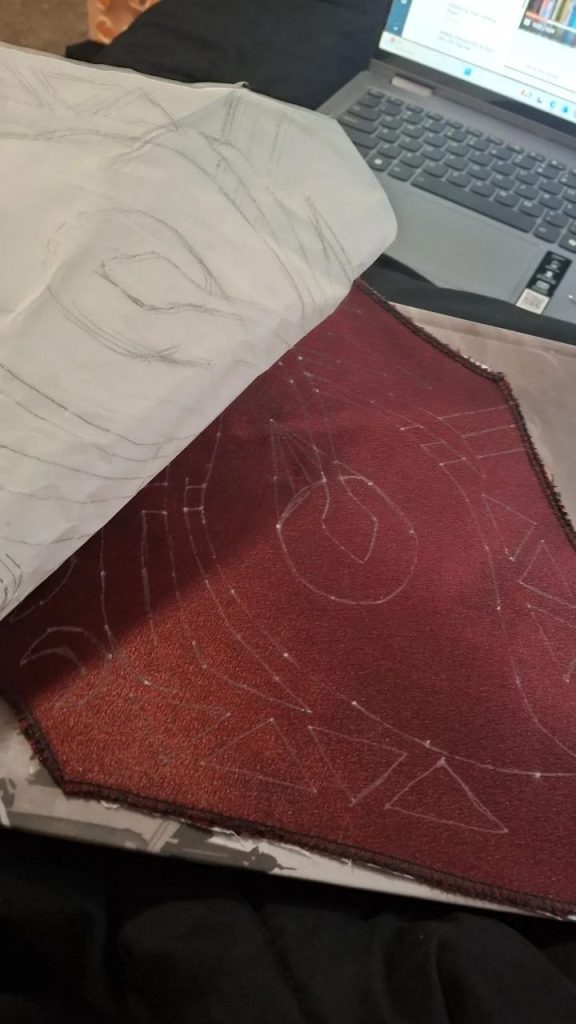
The next step is to make and transfer the embroidery patterns. I did this by drawing the designs I wanted by hand onto the original coat pattern pieces. I then poked holes with a pin into the pieces of paper following the patterns. The next step will be playing the hardest connect-the-dots you have ever done. I pinned the patterns onto my fabric and used a pen to make the holes. I connected them pretty often by flipping the paper back and forth. This process took hours, but when it’s done, your pattern is neatly drawn onto your fabric.
The Embroidery
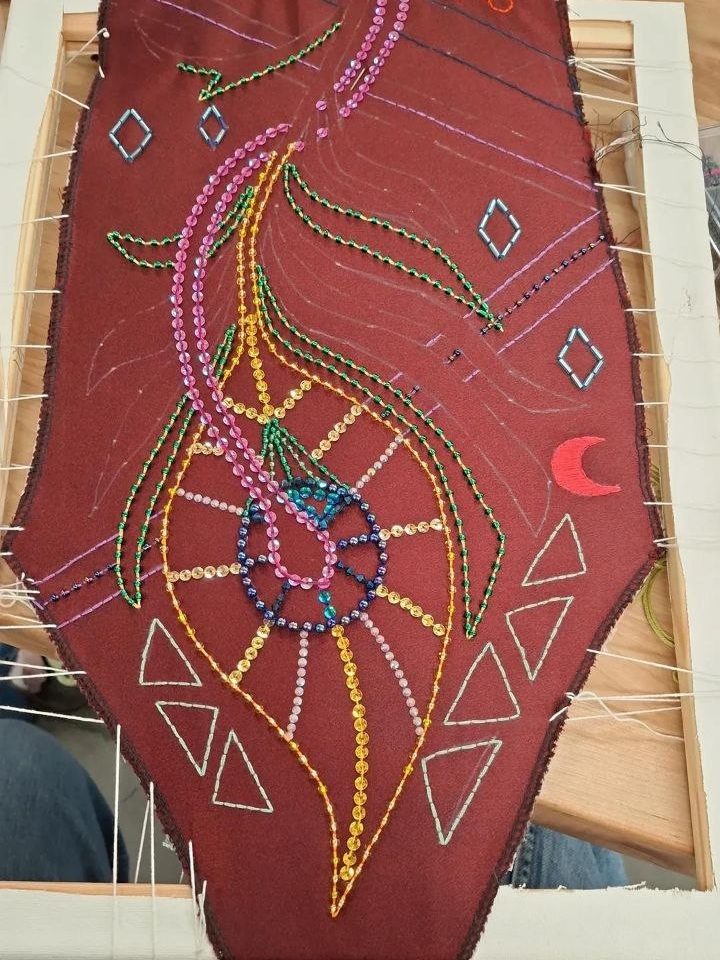
I used a combination of beading, embroidery, rhinestones, and sequins to create the designs on the coat.
Pro tip. You can glue on the sequins and then sew them. This can help create straighter lines.
The lining
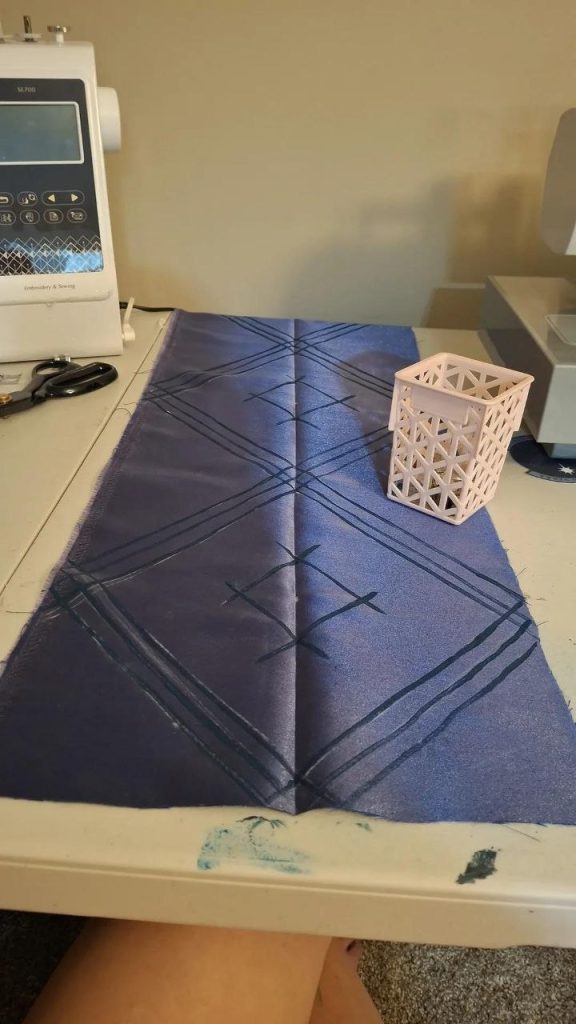
The lining of the coat was made of 3 different fabrics. After I finished the embroidery of the coat, I traced each piece of fabric onto its respective lining and cut it out. This was to account for any warping that happened during the embroidery process.
I then stamped/ painted on all of the designs onto the lining fabrics and let them dry. I then basted the lining to the outer fabric.


Constructing The Coat
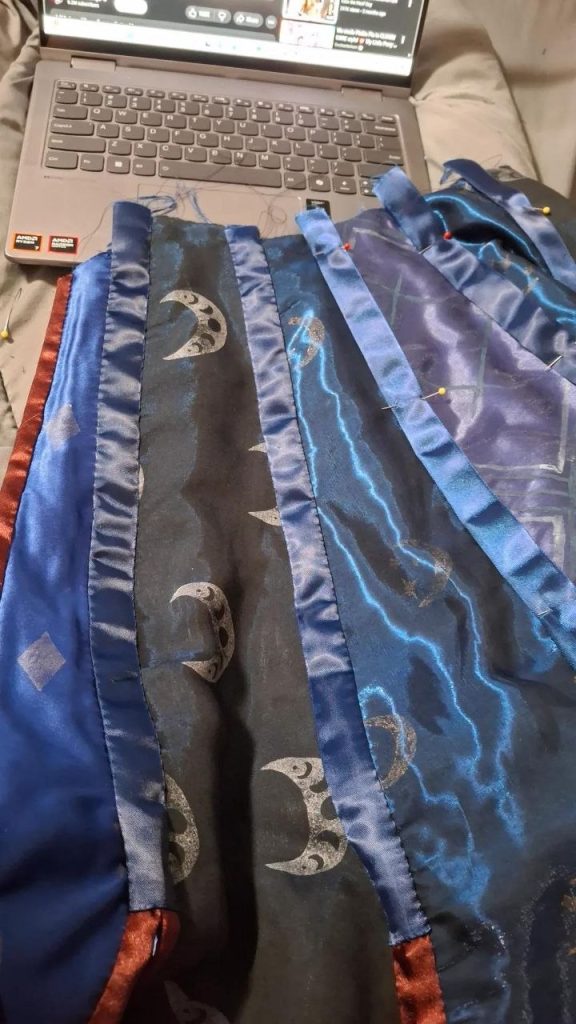
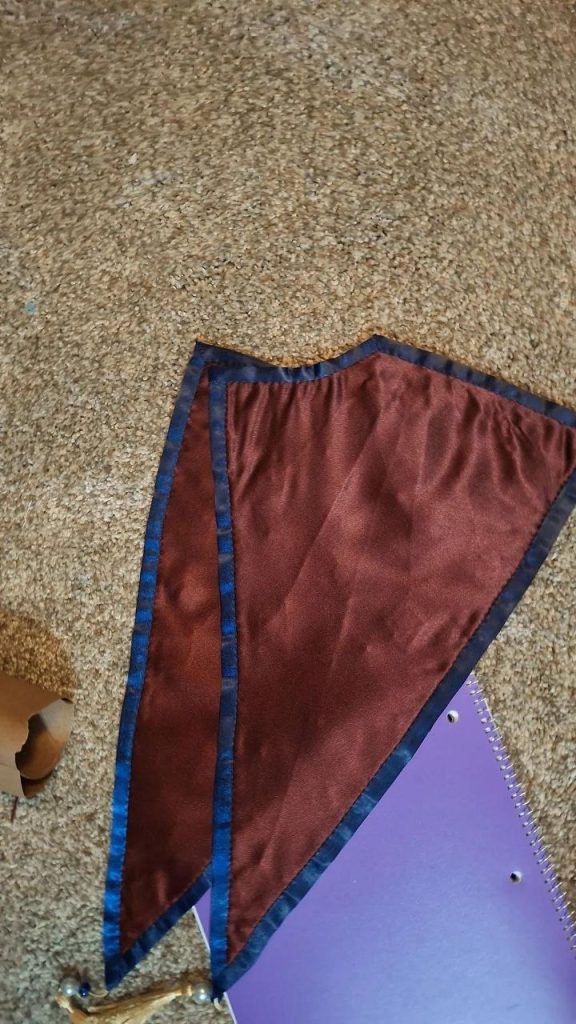

I made a binding for the coat. The binding was sewn on, and then each panel was sewn together. I attached another layer of binding by hand to cover the seam allowance.
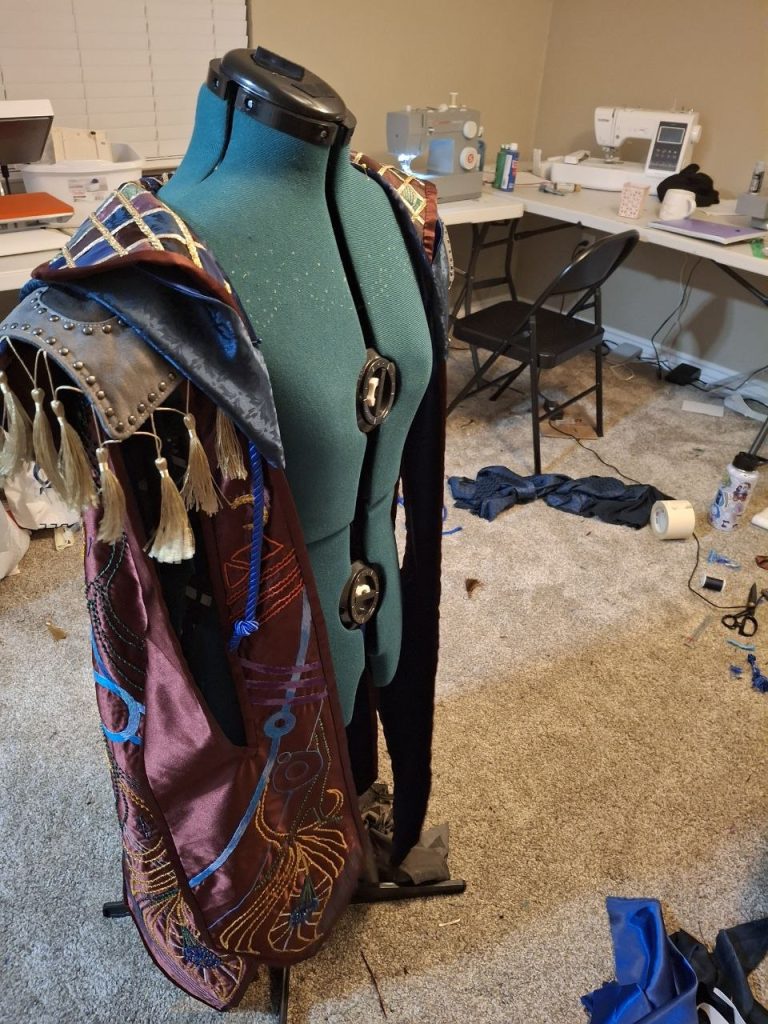
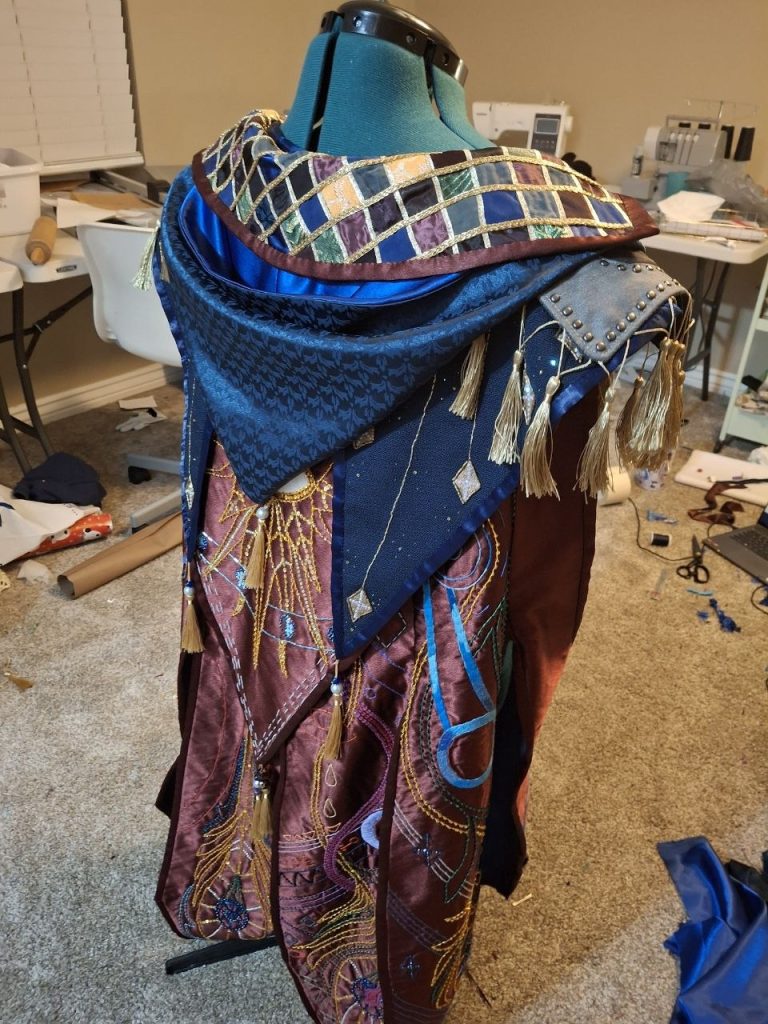
The collar consisted of many small squares sewn together. Ribbon covered the seams. I then completed the same process of basting the lining to the collar and binding it.

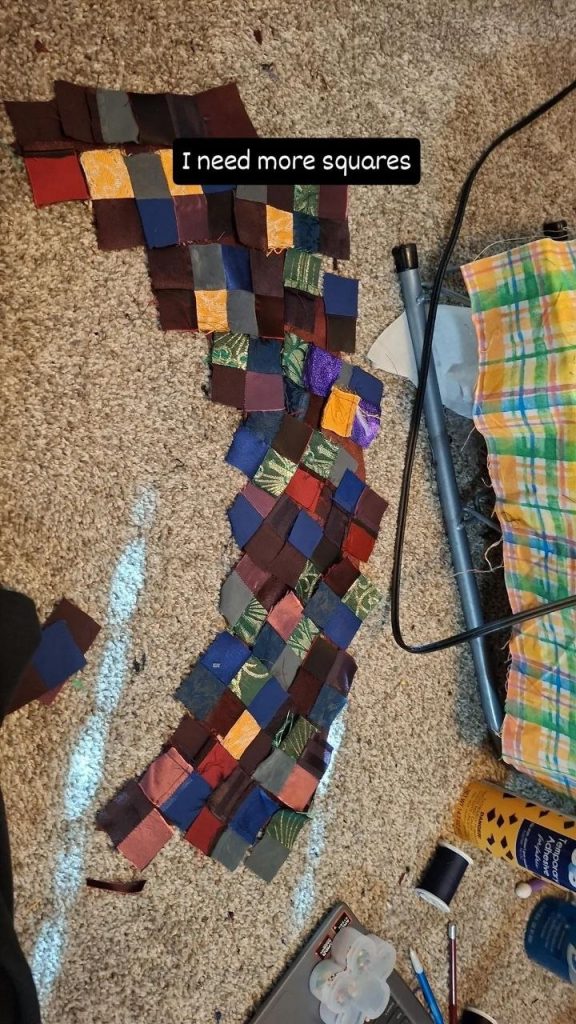

The hood was bag-lined and sewn onto the back of the collar.


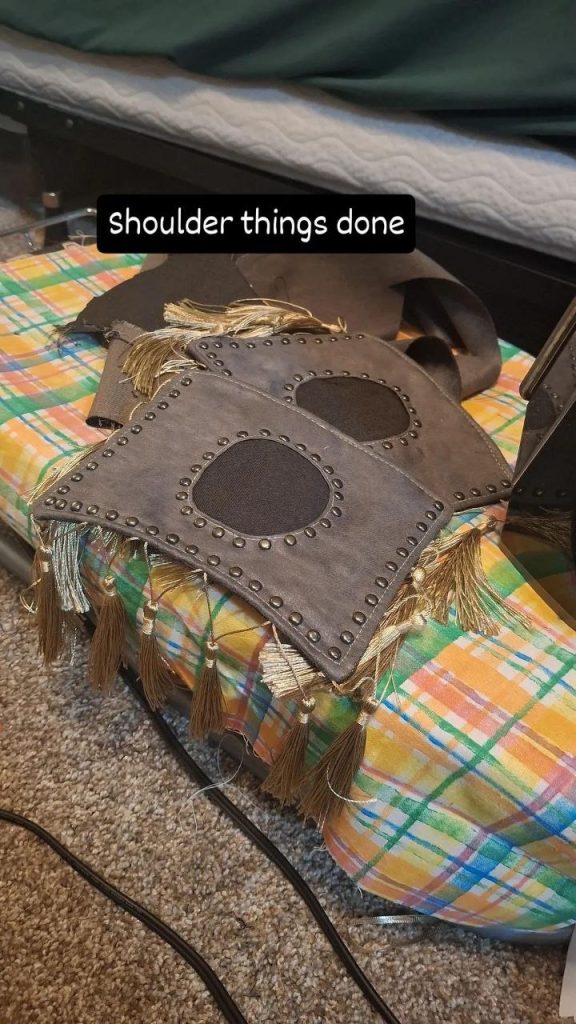
The epaulets were made of 4 layers of fabric. A layer of cotton, faux suede, buckram, and a layer of suiting fabric.
I sewed every layer together and the coat was then completed.


Leave a Reply